Getting Started
Getting Started
Project Select
The SMART portal is accessed at www.smartcoro.com. Once you have signed in, you will see a list of all projects that you have access to.
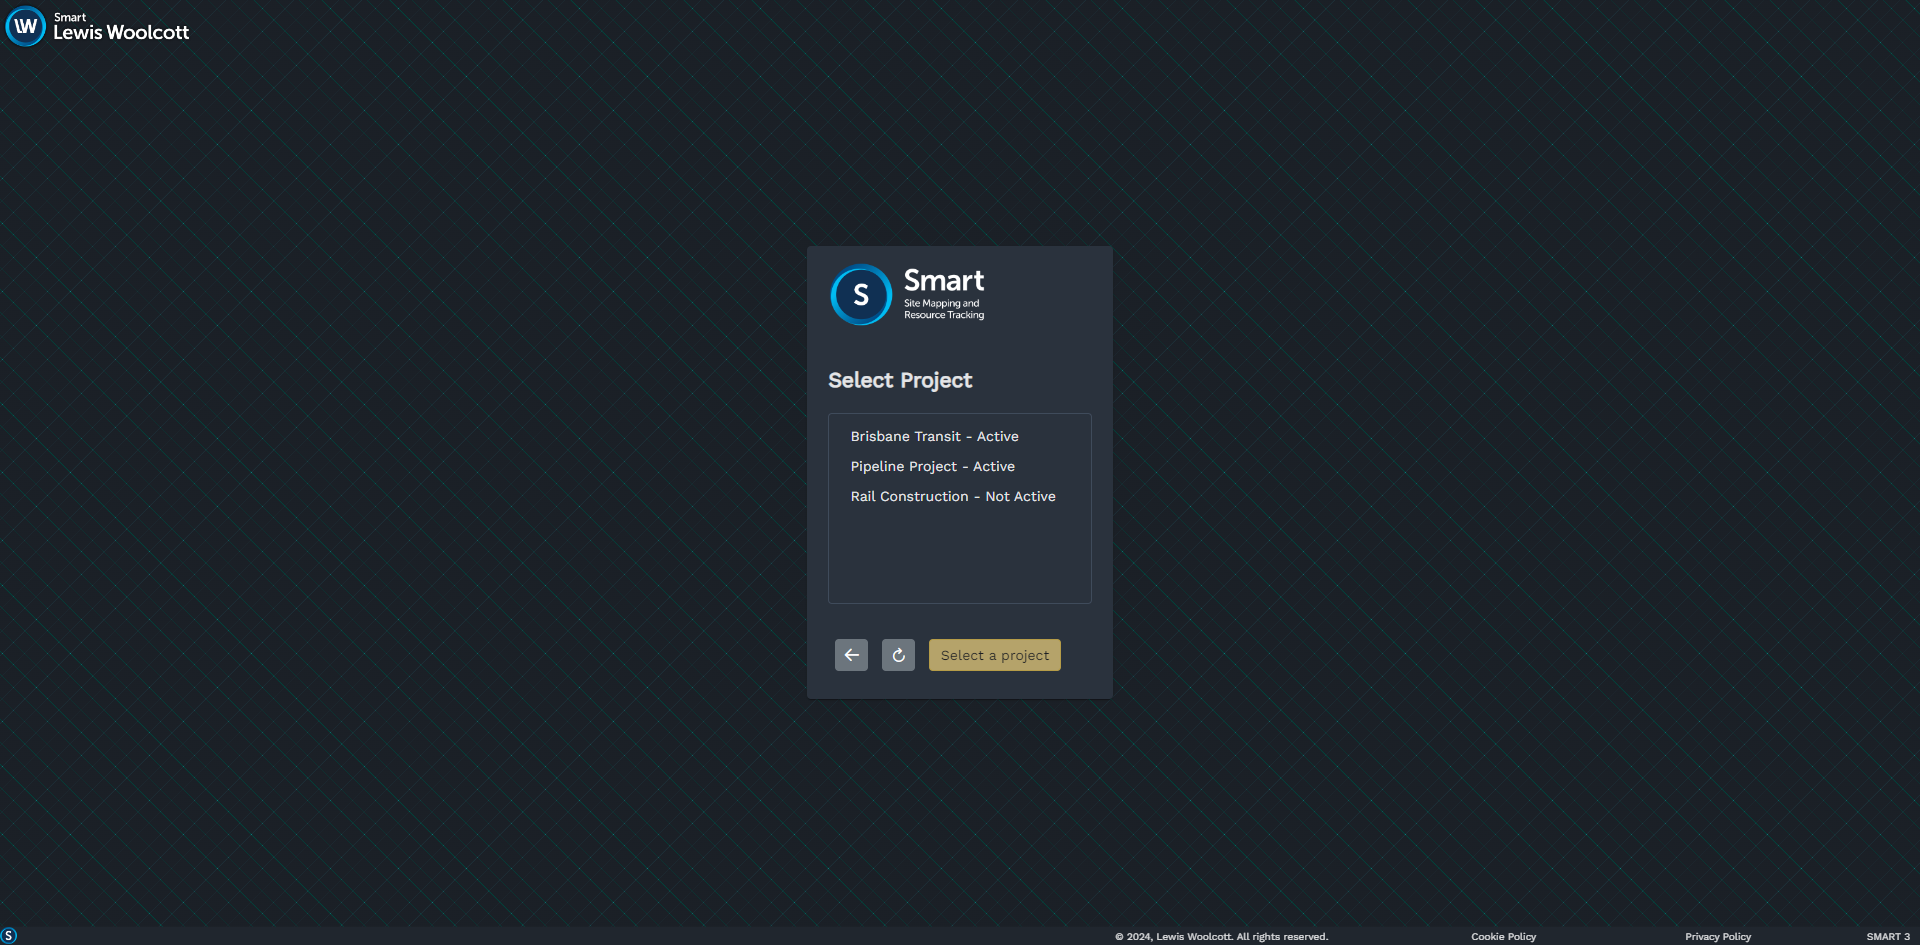
Projects marked Active are currently collecting real-time data from resources. Once a project is complete, it is marked as Not Active. You can still explore historical data and view all analytics for these projects.
Select a project and click ‘Load’ to open the Map View for that project.
Map View
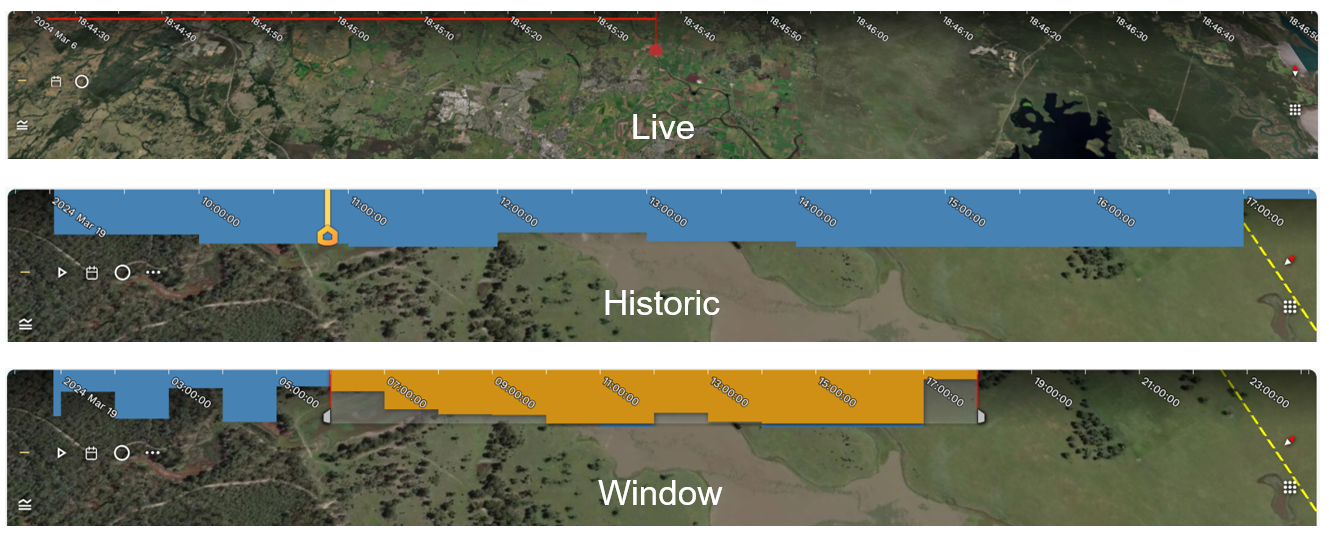
The SMART interface is divided into a few main components:
The Map
The Timeline
The Sidebar
The Tables
The Map
The map view is designed to be intuitive to navigate:
To pan the map, hold the left mouse button and drag the map
To rotate, hold the right mouse button and drag the map. You can tilt the map for more detail in 3D. To reset the map to the original orientation, click on the compass.
To the zoom map, use the mouse scroll wheel.
Changing Modes
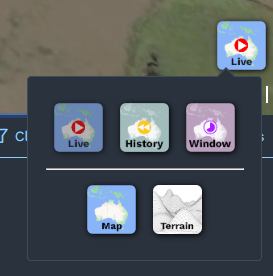
SMART has three main modes.
Live View provides visibility of all resources on the ground in real-time.
Historic View allows visualising the site at any point in the past
Window View enables exploring coverage over a longer time window.
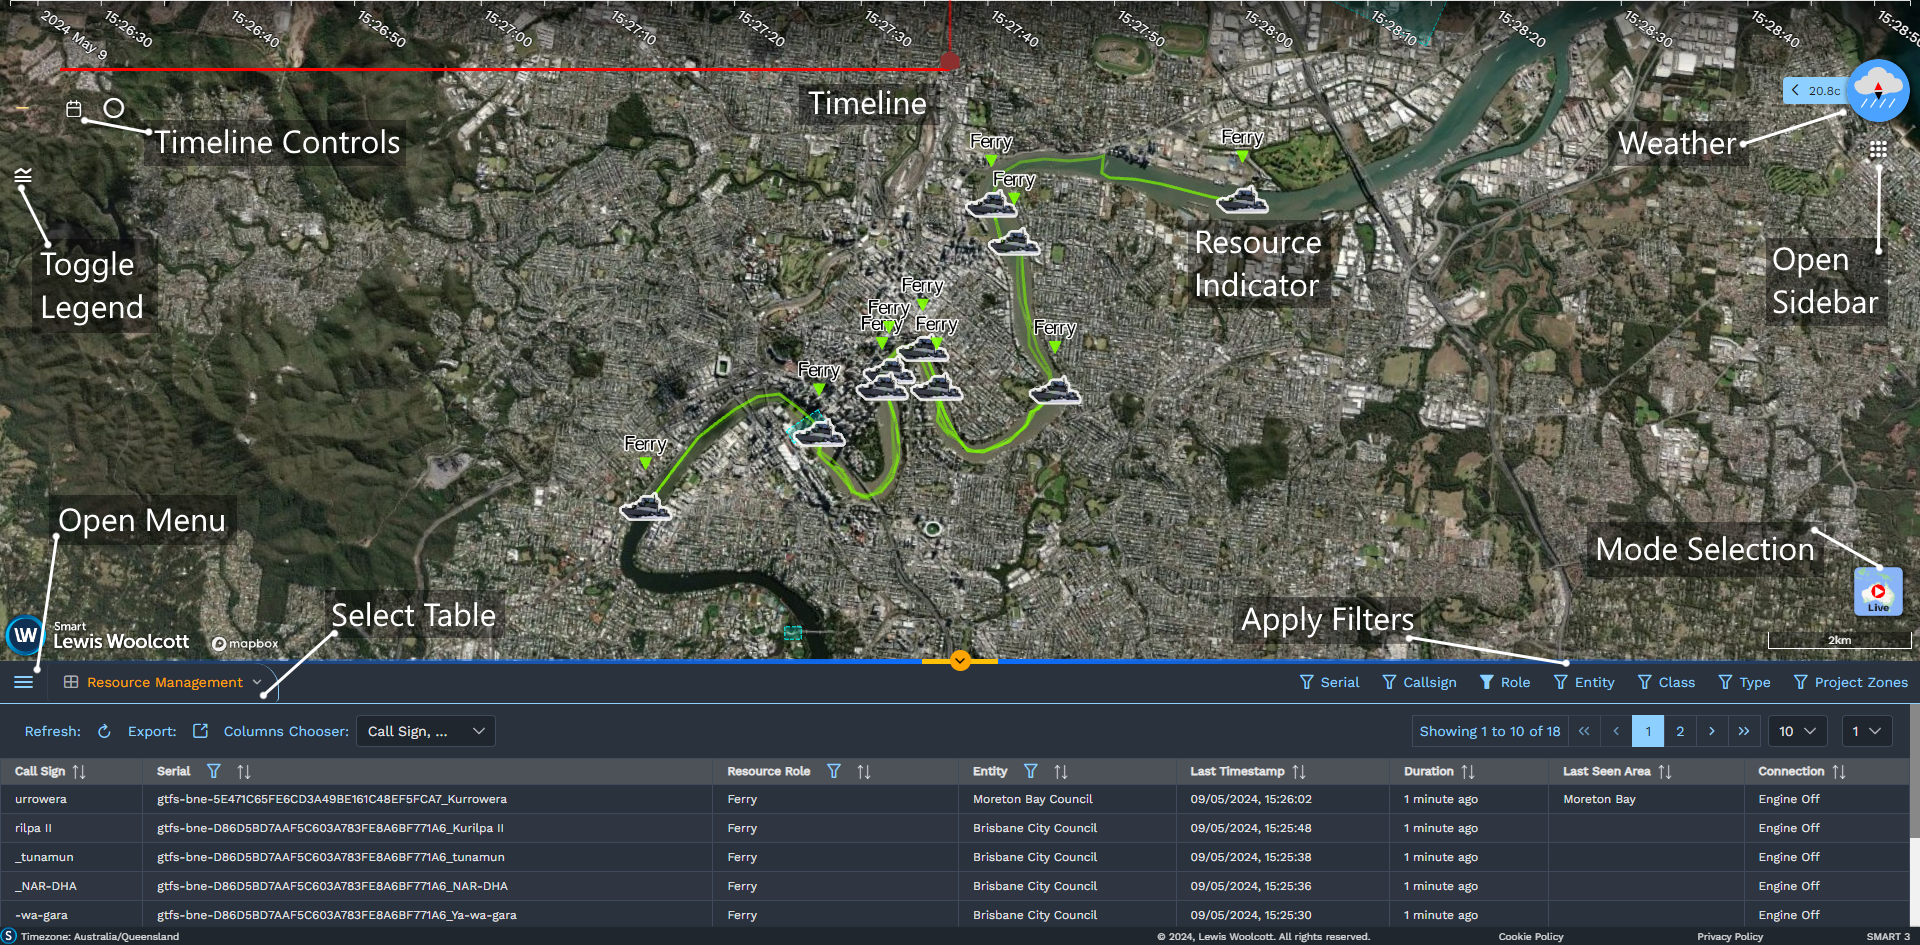
You can swap between these three modes at any time using the mode selector in the bottom right corner of the map view.
Additionally, you can switch between satellite imagery and a stylised basemap; or enable 3D terrain.
The Timeline
The Timeline is situated at the top of the screen. In Historic and Window modes, you can drag the timeline to explore the site at any moment in time.
You can swap between the timeline modes at any time using the map mode selection icon.
Table Viewer
Underneath the map is the table view. To select a tab, click on the dropdown in the left corner underneath the table divider.
The table view can be resized as needed by dragging the table divider.
Filters
You can filter resources on the map to only show what you’re interested in using the filters. On the right hand side of the table view, you can find the filter options. Click on a filter to open a dropdown and select what you’re interested in.
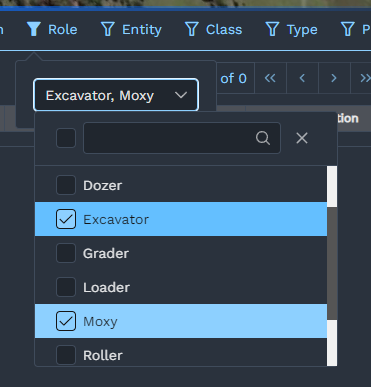
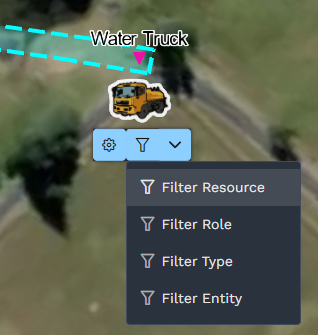
Alternatively, you can apply a filter by clicking a resource on the map and choosing the filter from there.
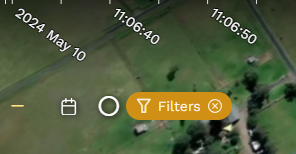
To quickly clear all filters, click on the ‘X’ next to the filters chip in the top left hand corner of the screen.
Main Menu
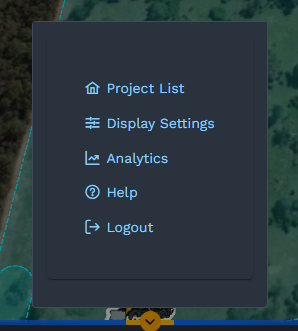
Click the = icon in the bottom left hand side of the table view to open the main menu.
The Main Menu allows you to switch between projects, customise the SMART interface, or explore analytics for the selected project.
Display Settings
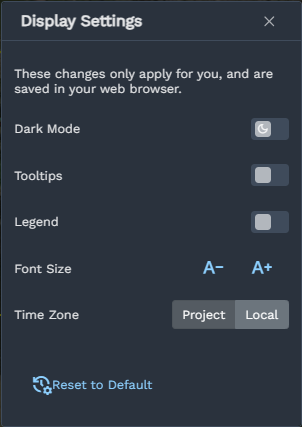
The display settings pane in the Main Menu has some helpful features to adjust the interface:
Appearance: Switch between dark and light colour schemes for the interface
Tooltips: Toggle tooltips when hovering over buttons
Legend: Toggle to display the legend on the map
Font Size: Adjust the size of text in the interface
Time Zone: By default, SMART displays timestamps based on the project location. If preferred, you can show times based on your local timezone.
Analytics View
The Analytics view in SMART provides a range of dashboards to gain a high-level overview of the project. This will be covered in-depth later in this guide.
Weather
SMART includes real-time weather data. You can see the current weather conditions in the top right corner of the map view.
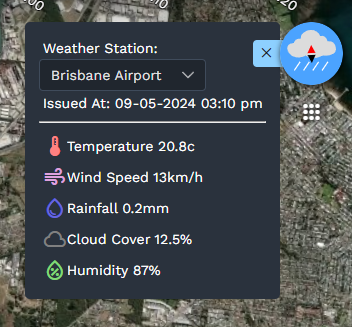
Click on the < in the blue tab to view more weather details.